Nail Trimming Tutorial
(Using a Dremel)
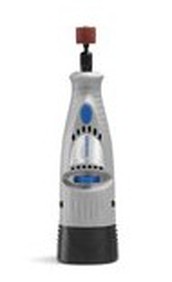
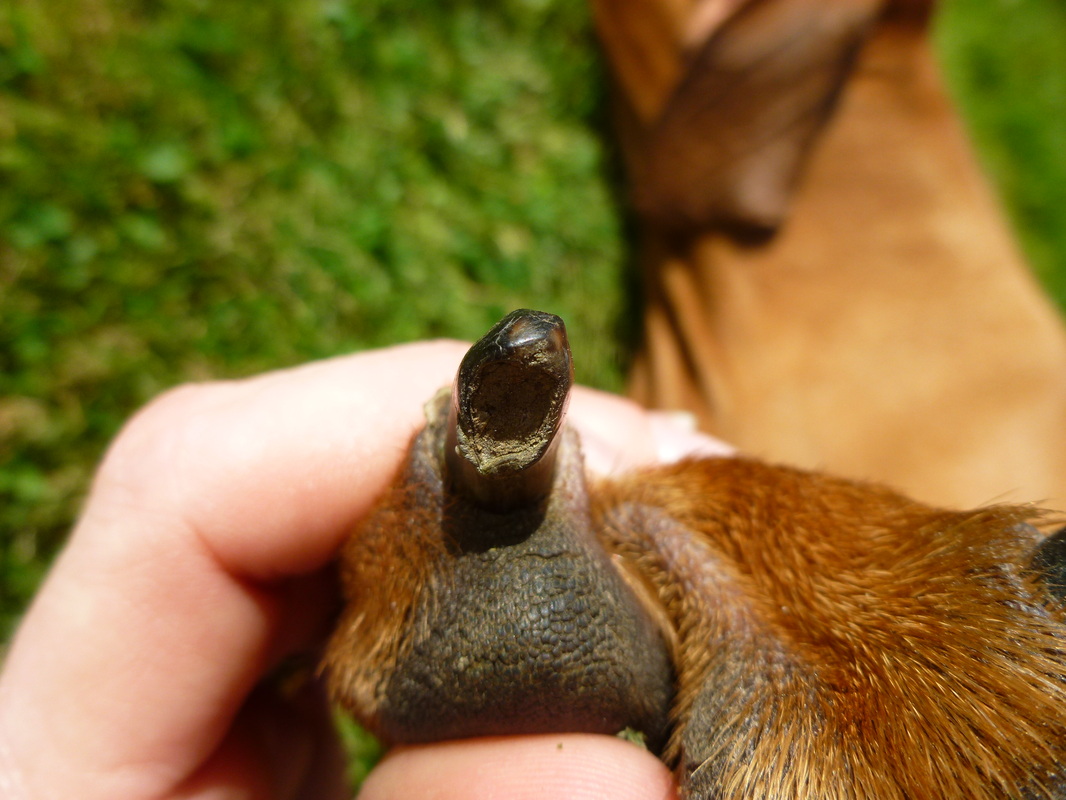
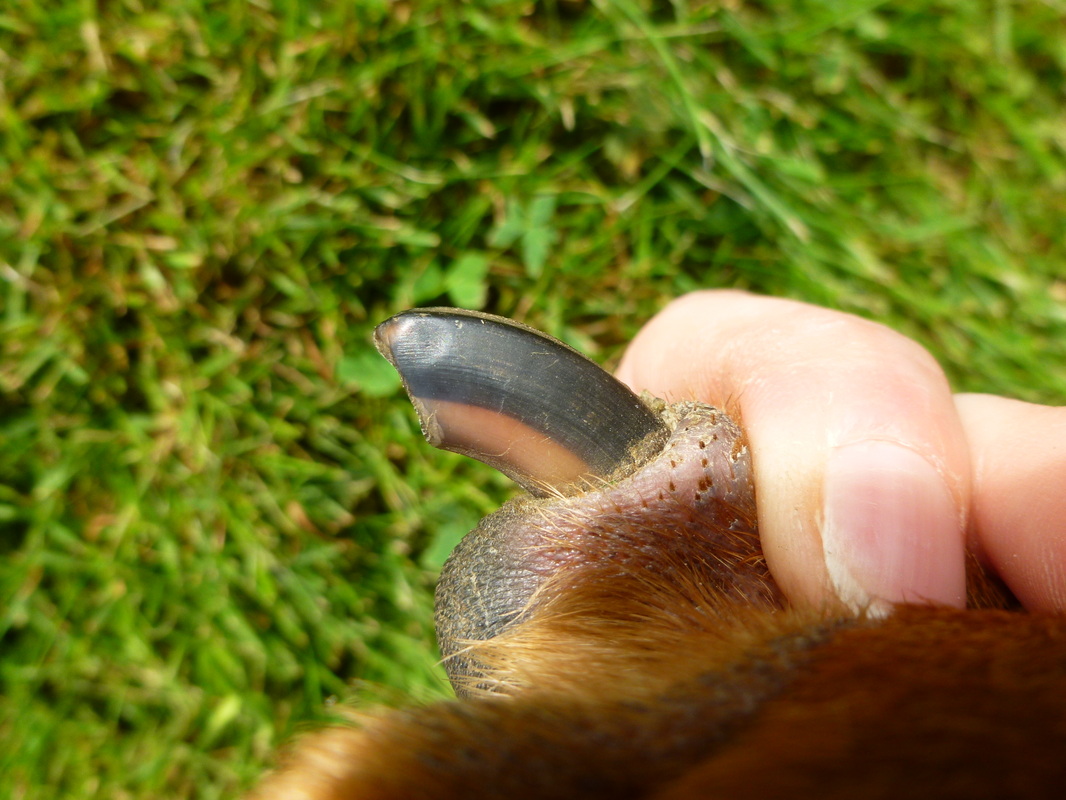
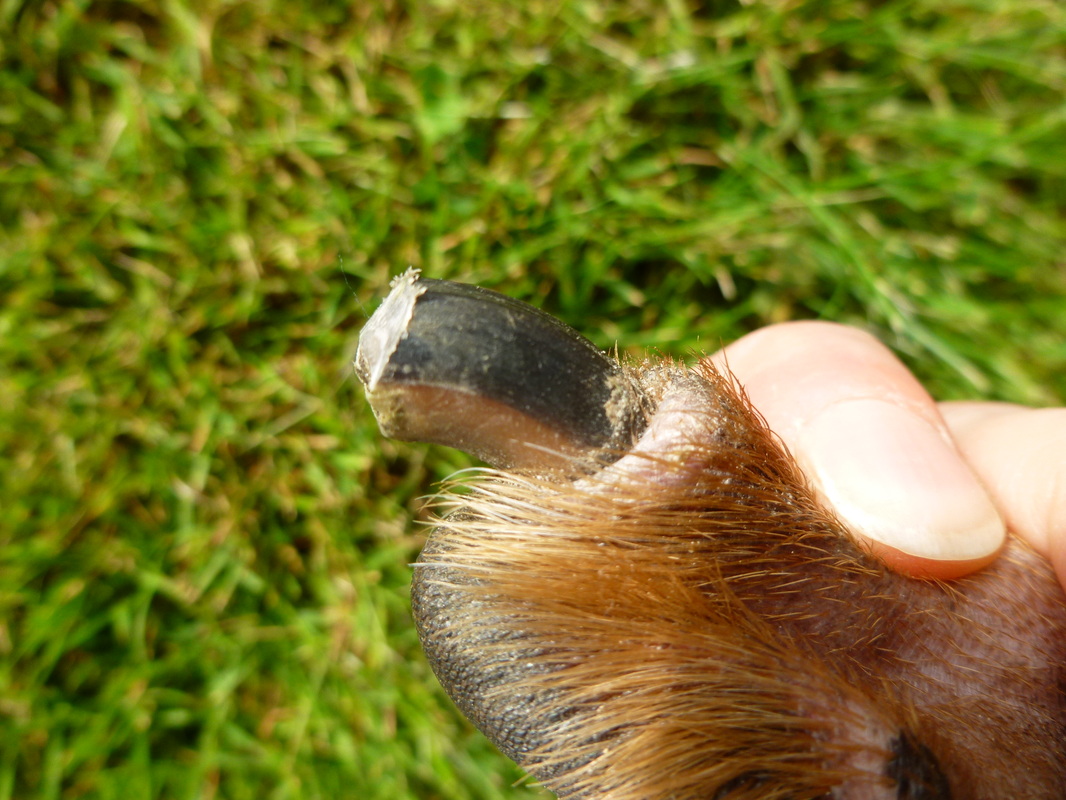
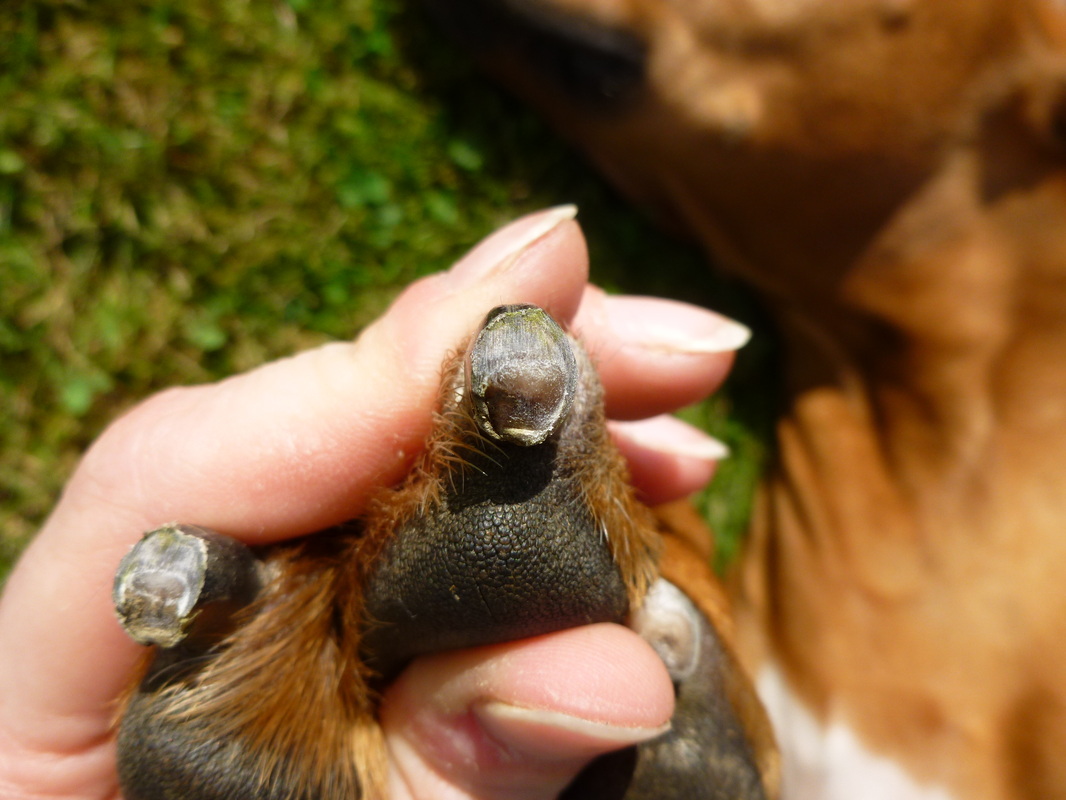
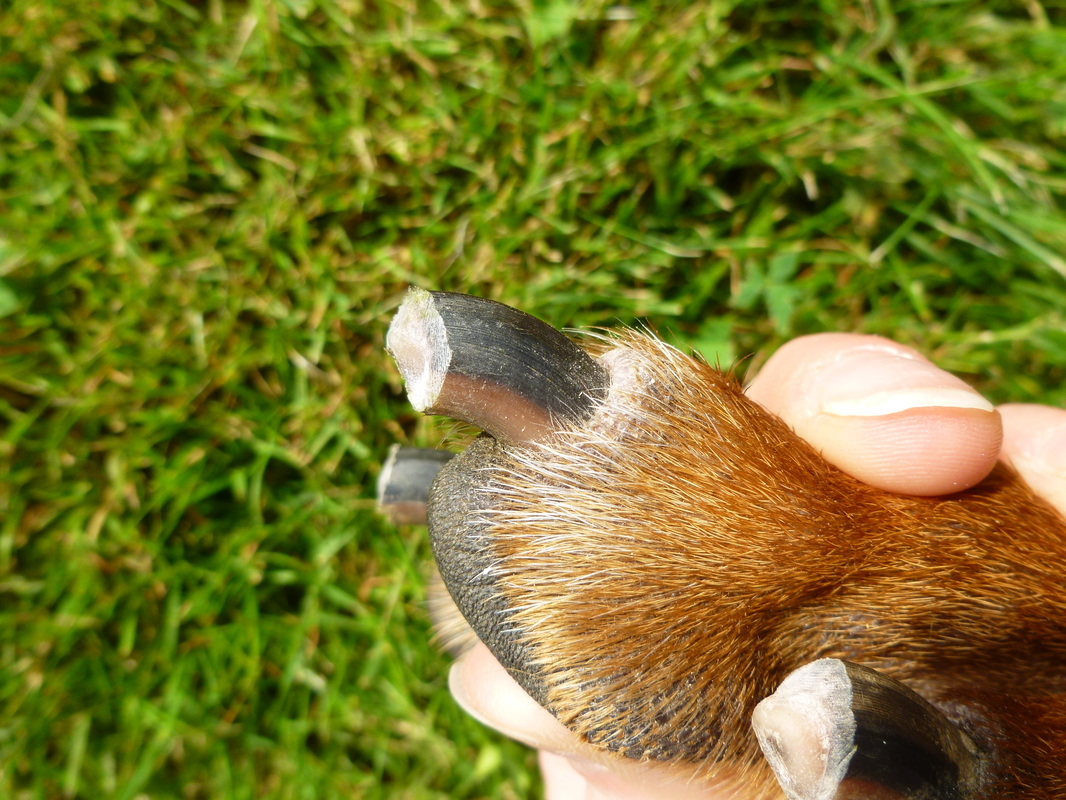
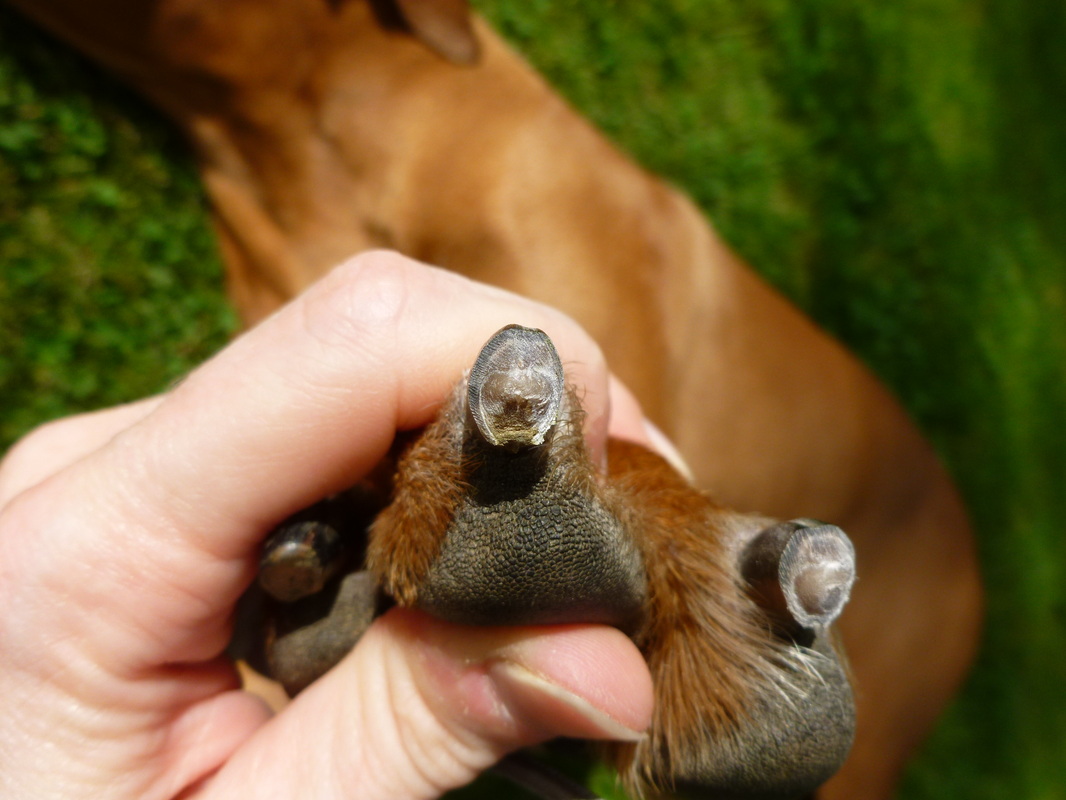
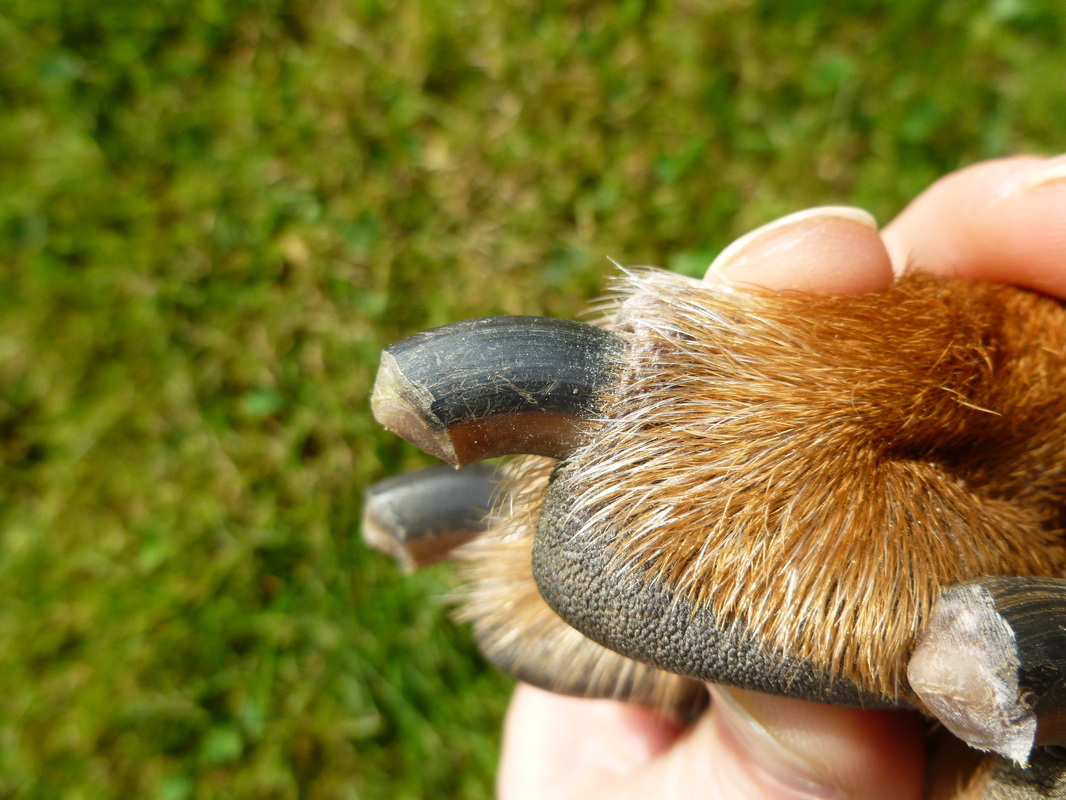
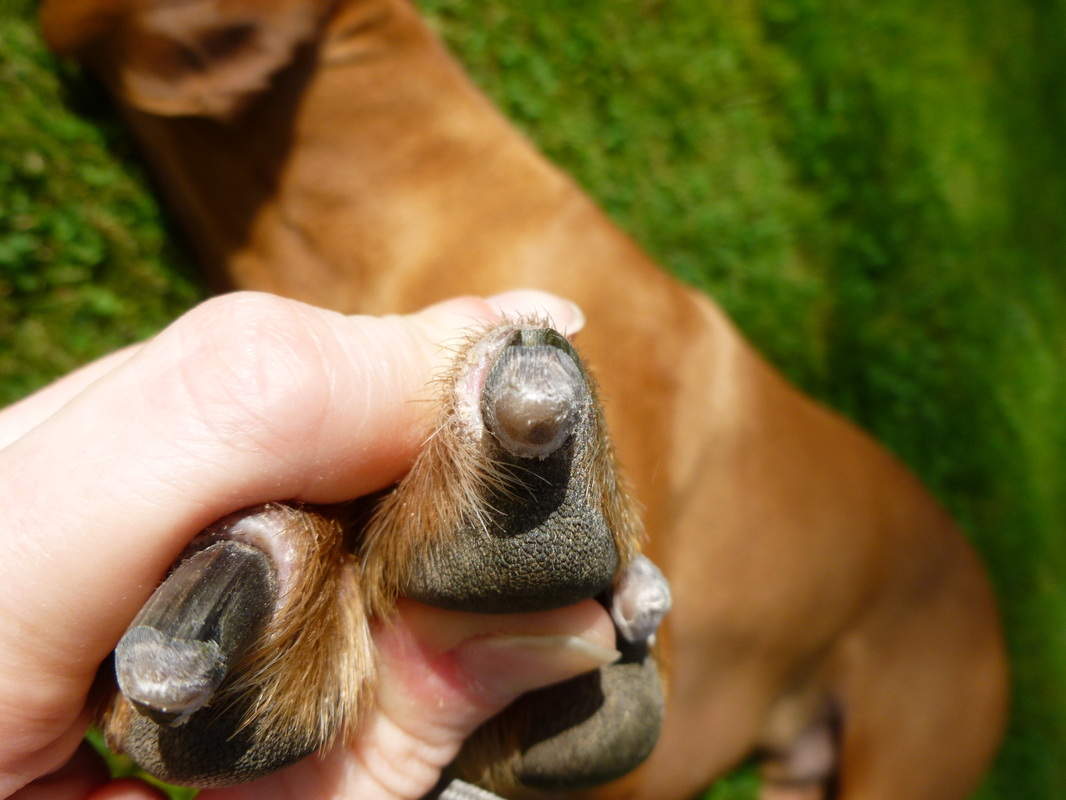
As you might have seen on our "Dog Stuff We Can't Live Without" page, we love our Dremel. It is our preferred method of trimming both puppy and adult nails. The use of a cordless Dremel rotary tool over a traditional nail clipper allows us to keep the nail as short as possible (even helping to work back the quick if they nails have become overgrown) without the risk of pain or bleeding. The other advantage is that the nail is left smooth and rounded; no more scratches from sharp, freshly-cut nails.
Many dogs show concern about the noise of a Dremel the first several uses. You can help desensitize your dog to the sound of the Dremel by:
- turning on the tool and placing it near the food dish while your dog eats
- turning on the tool and placing it near your dog while you play with their feet, toes and nails
- turning on the tool and massaging your dog with the NON-ROTARY end (especially in more sensitive areas such as the neck, legs and underbelly)
To begin, keep nail trimming sessions short; you don't have to do all the nails the first try. It is best to end each session on a positive note, if you can successfully trim one or two nails and your dog still seems comfortable or even intrigued, stop, give a treat and come back to do a couple more nails later. To positively reinforce this style of nail trimming, be sure to give your dog treats only when they are NOT struggling and while the Dremel is still running.
Once your dog gets accustom to this type of nail trimming technique, you will find it can be a much more pleasant experience for both you and your dog!
|
|
Hover over each image below for a detailed description.


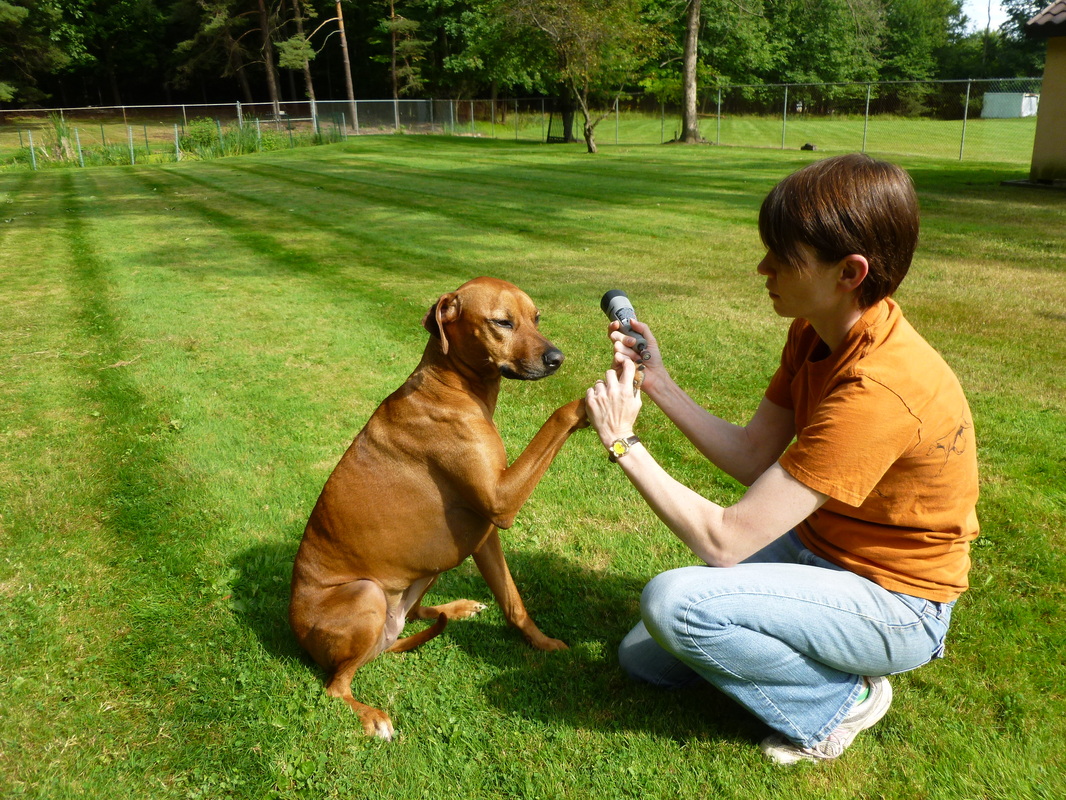
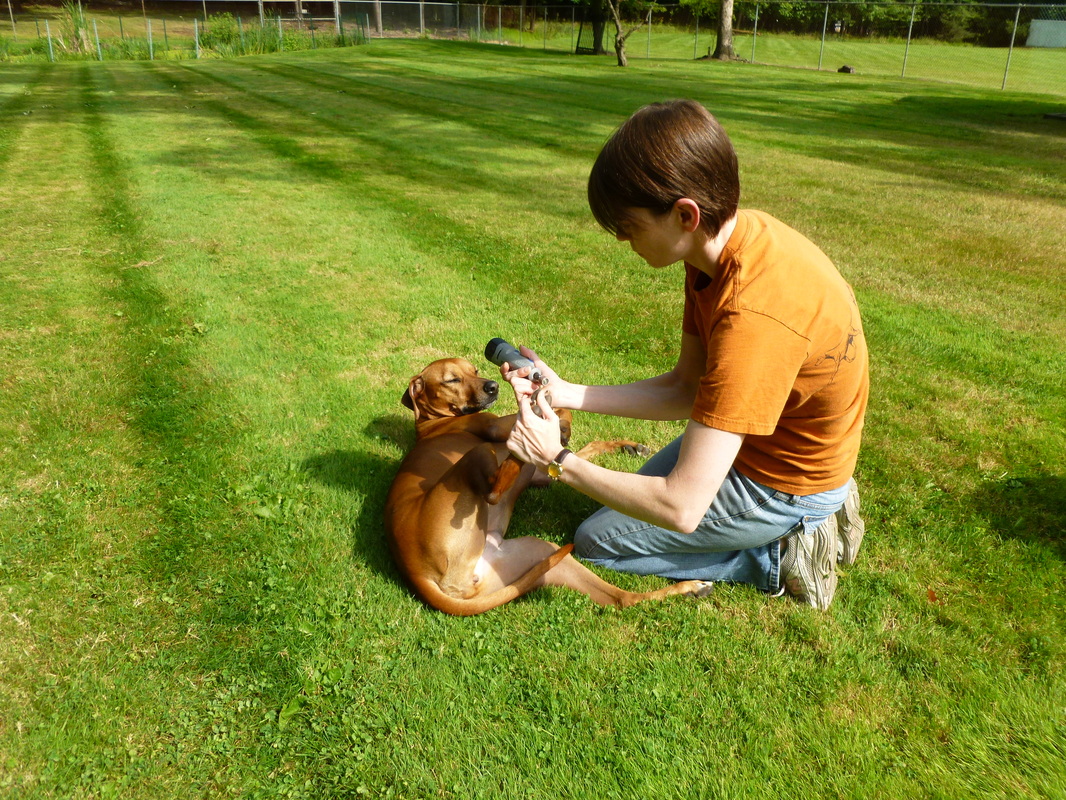
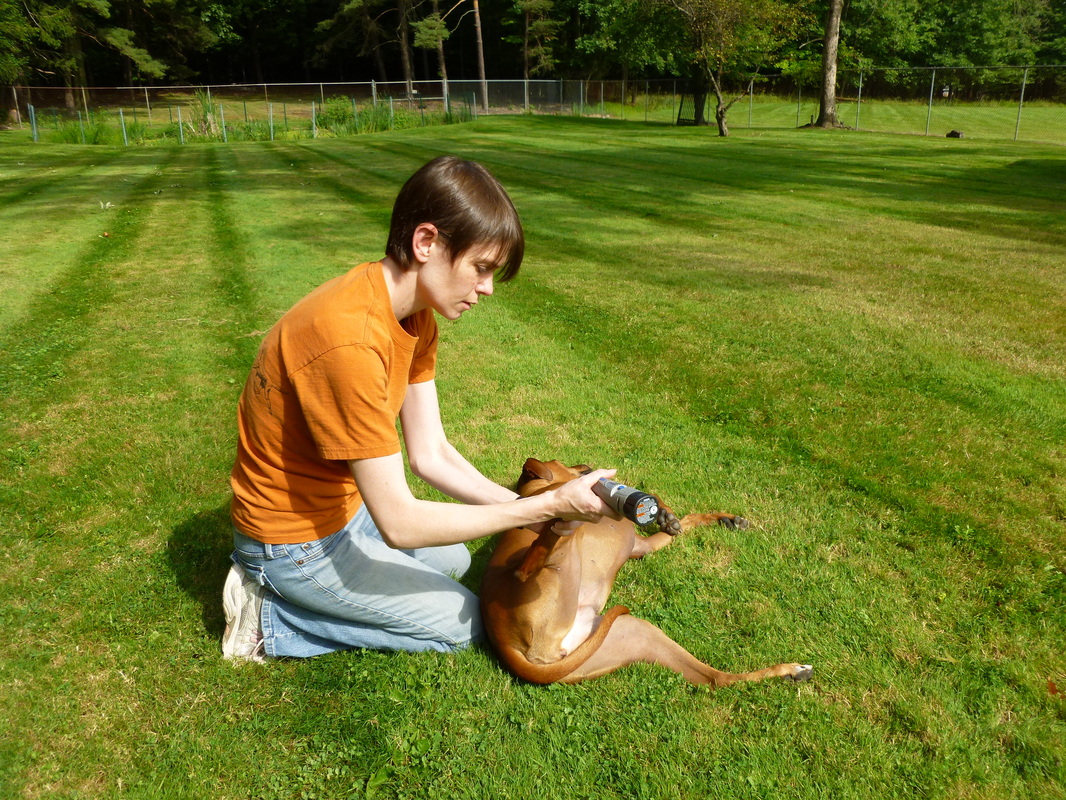
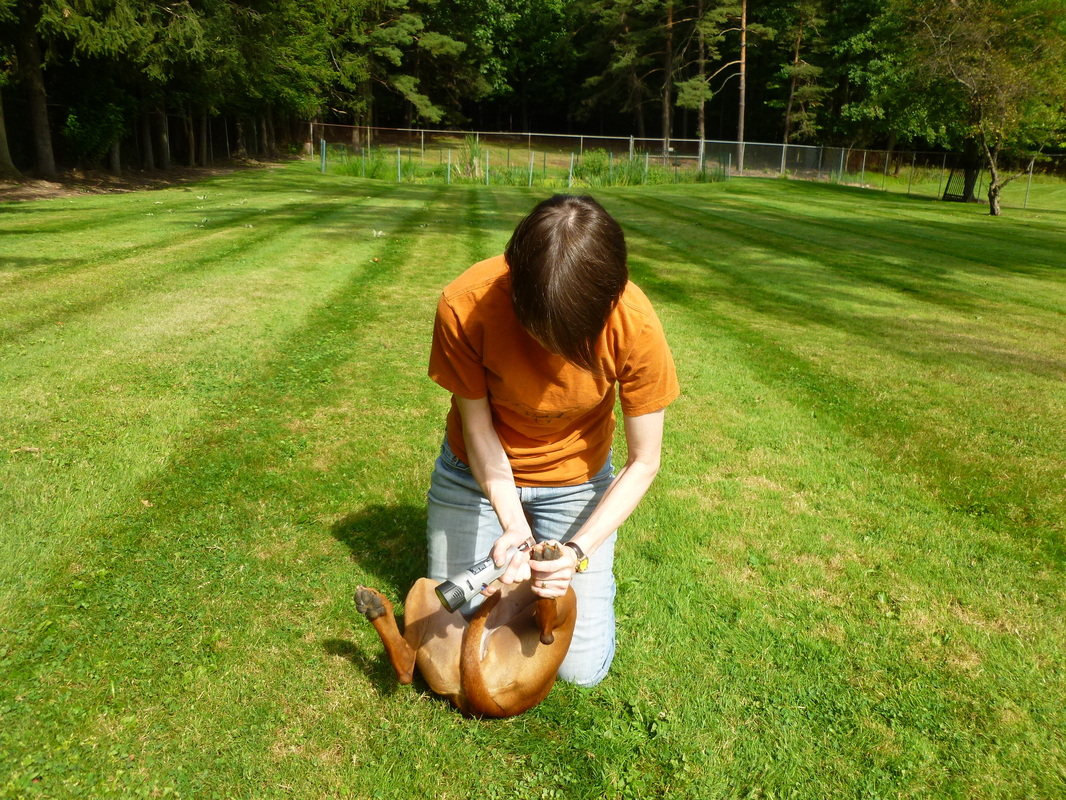
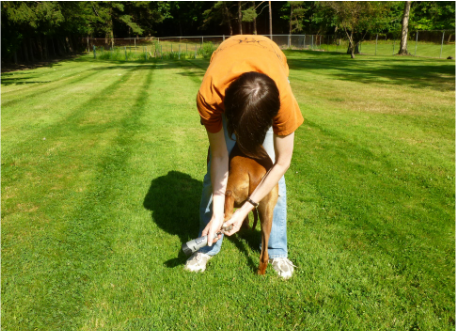
Examples of Restraint Positions for Nail Trimming
Helpful Hints:
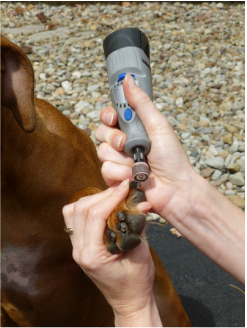
~ Hold the Dremel securely and comfortably
~ Always support each toe as your trim it
~ Keep the dog's foot close to the dog's body, never pull on toes, feet or limbs
~ Demel outdoors when possible (Dremeling produces a fair amount of debris/dust)
~ Avoid prolonged contact of the Dremel and the nail; more than a few seconds and the nail can become uncomfortably hot
~Ladies, do NOT Dremel your dog's nails after having a manicure done... it is inevitable you will knick your own nails
~ Stay positive and use lots of treats!
"Give Paw"
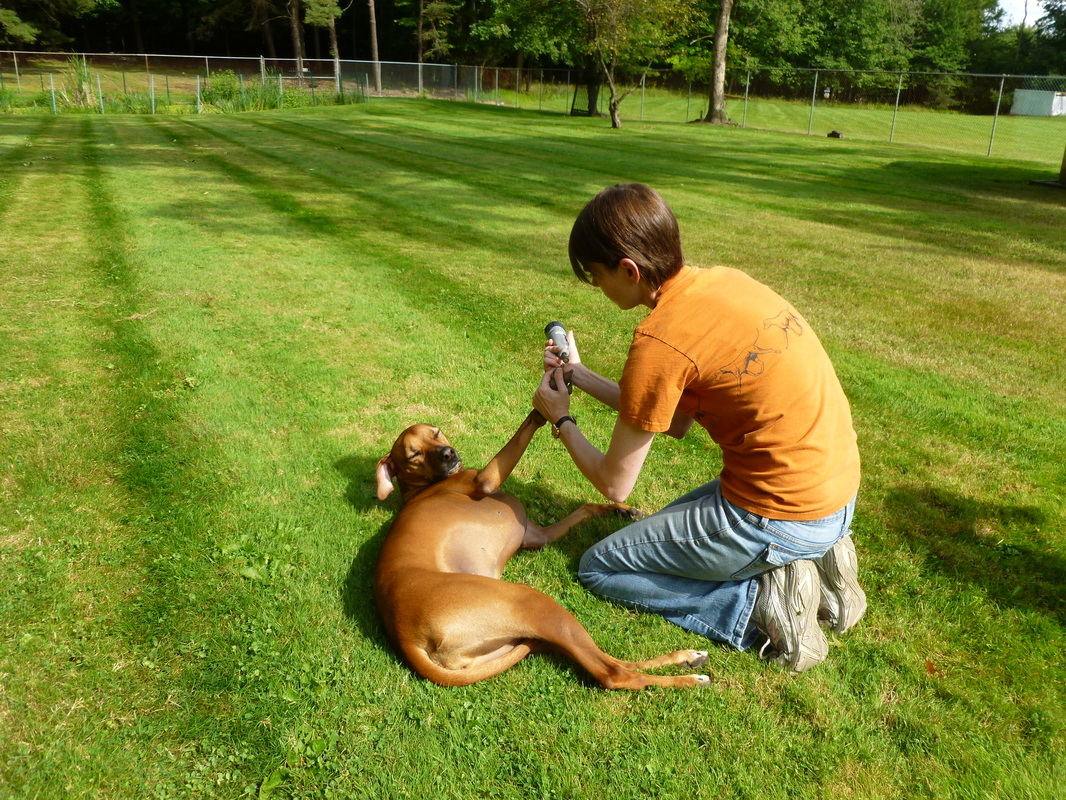
"Side" with feet towards
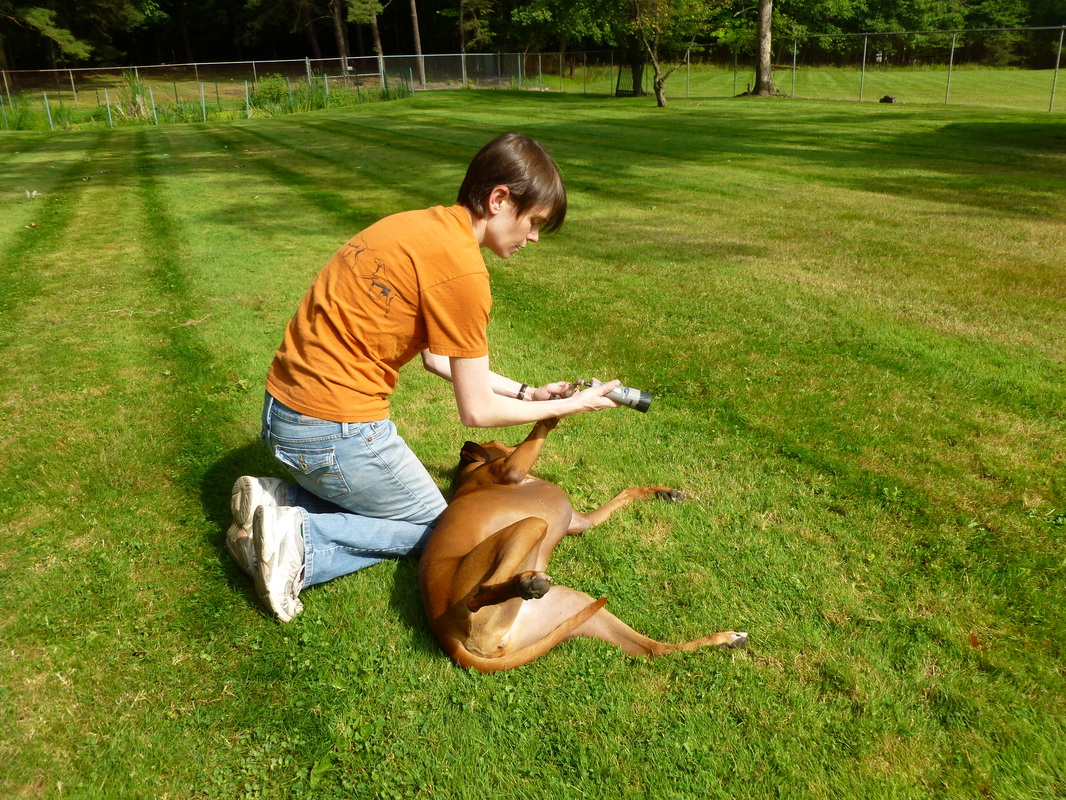
"Side" with feet away
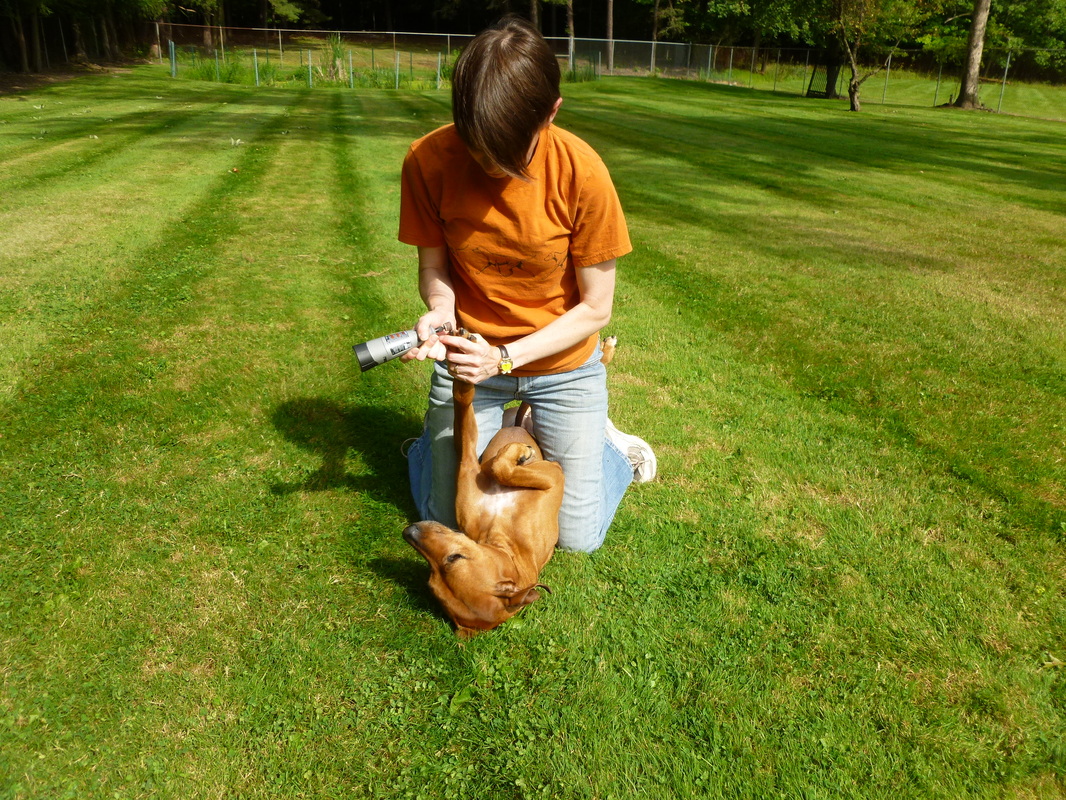
"Belly's Up" (NOTE: You should only be kneeling over the dog, NEVER sitting or putting other downward pressure on the dog!)
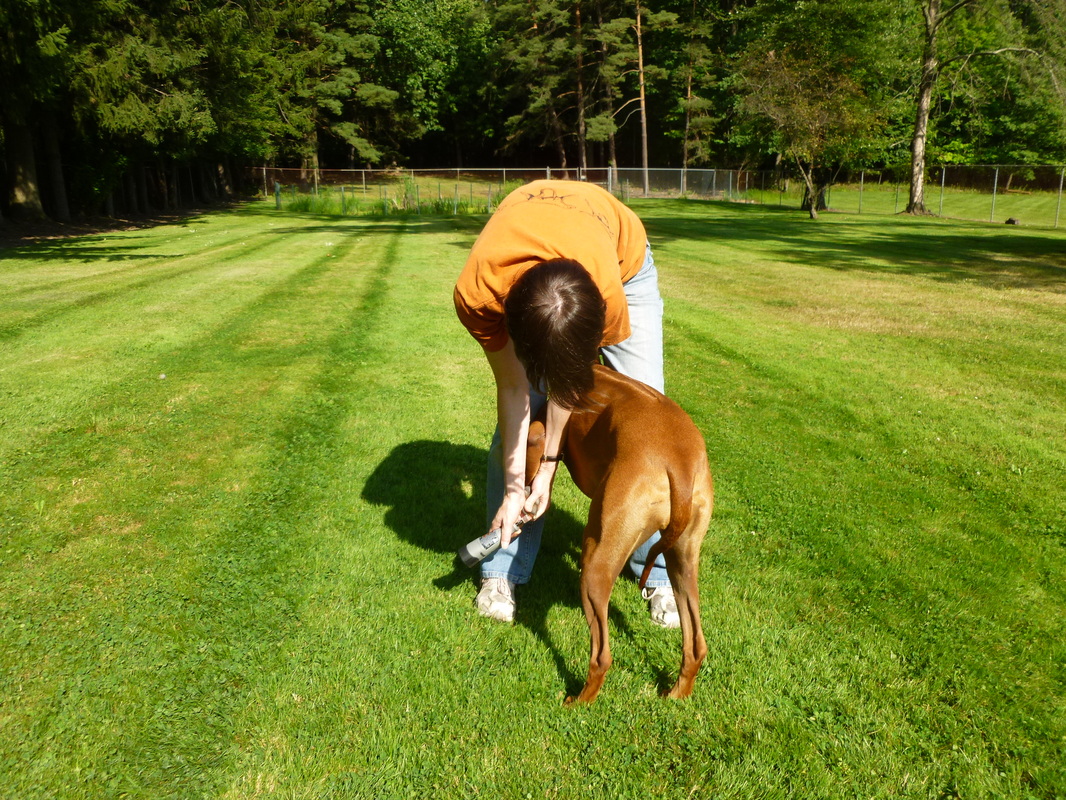
"Straddle"
|
"Give Paw"
"Side" with feet towards
"Side" with feet away
"Belly's Up" (NOTE: You should only be kneeling over the dog, NEVER sitting or putting other downward pressure on the dog!)
"Straddle"
|